Contributing
Prerequisites
Section titled “Prerequisites”- Python 3.12 or higher
- UV package manager
- Docker (for Apache AGE database)
Installation
Section titled “Installation”-
Clone the repository
Terminal window git clone https://github.com/openshift-hyperfleet/kartograph.gitcd kartograph -
Install Git Hooks
pre-commitandpre-pushhooks are configured to enforce coding standards and validate code with tests. The first time you commit,pre-commitwill install required packages automatically. This may take some time, but will only happen once.Terminal window uv run pre-commit install -t pre-commit -t pre-push -
Configure environment
Default Kartograph configuration files can be found in
/env. -
Run Kartograph
Kartograph can quickly be run in development mode using
docker compose:Terminal window make dev && make logsThis will first start the database, a local Keycloak instance, and the application services with auto-reload enabled.
Using the Swagger UI
Section titled “Using the Swagger UI”One of the easiest ways to interact with the API routes is through the Swagger docs UI. You can find the UI at: http://localhost:8000/docs.
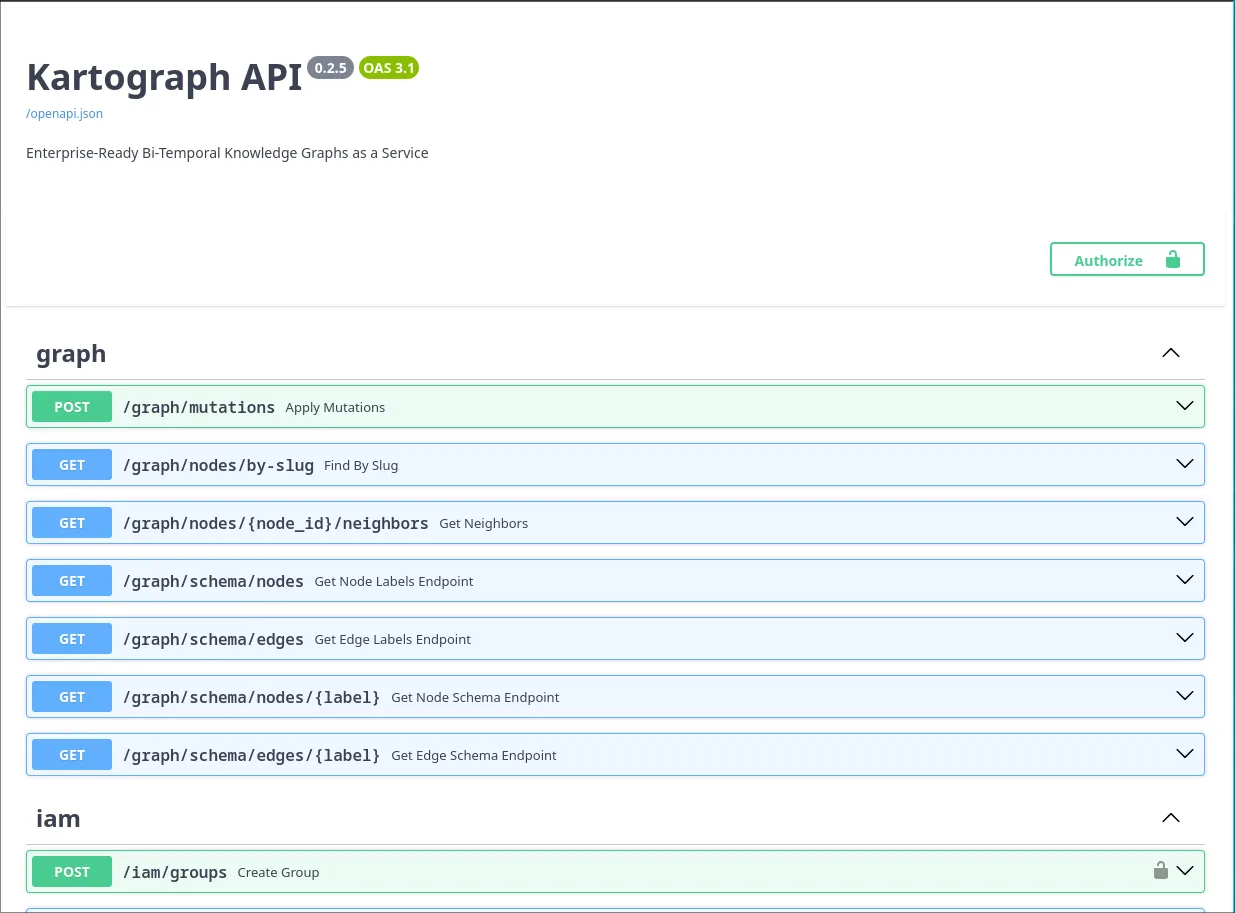
Authentication
Section titled “Authentication”Kartograph only supports authentication via OIDC (API keys are also planned for the future). Swagger’s UI is configured to authenticate with the development Keycloak instance via an OIDC flow.
-
Click the green
Authorizebutton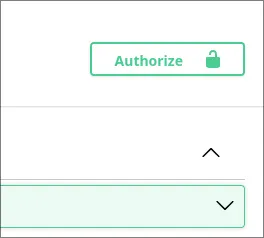
-
Scroll down and click
AuthorizeA dialog will appear that auto-populates the
client_idand required scopes for the development environment.Scroll down and click
Authorizeto be redirected to Keycloak.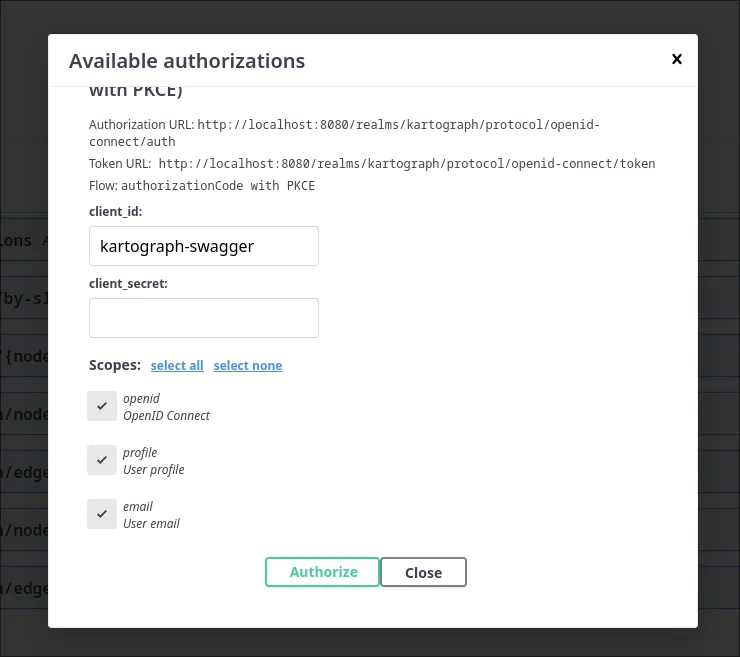
-
Authenticate with Keycloak
Sign in with one of the two developer accounts configured in
keycloak/realm.json:Username Password alicepasswordbobpassword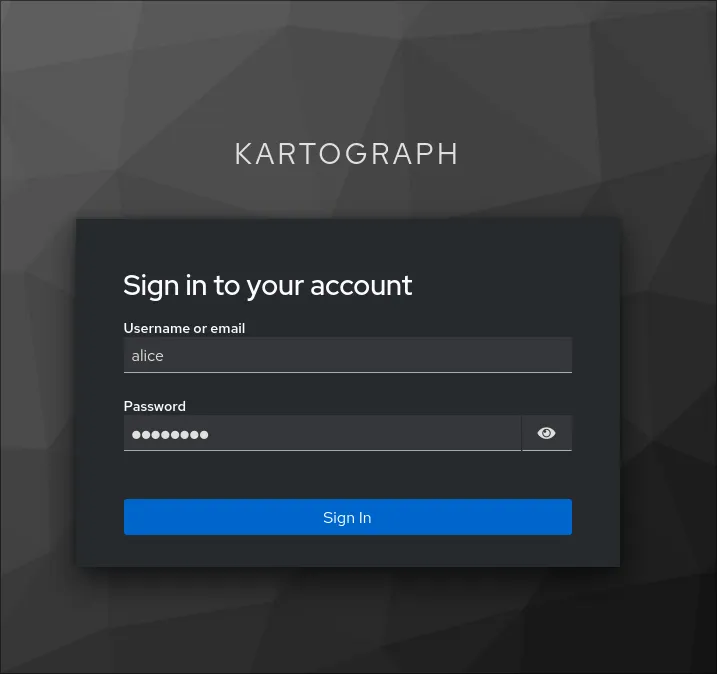
-
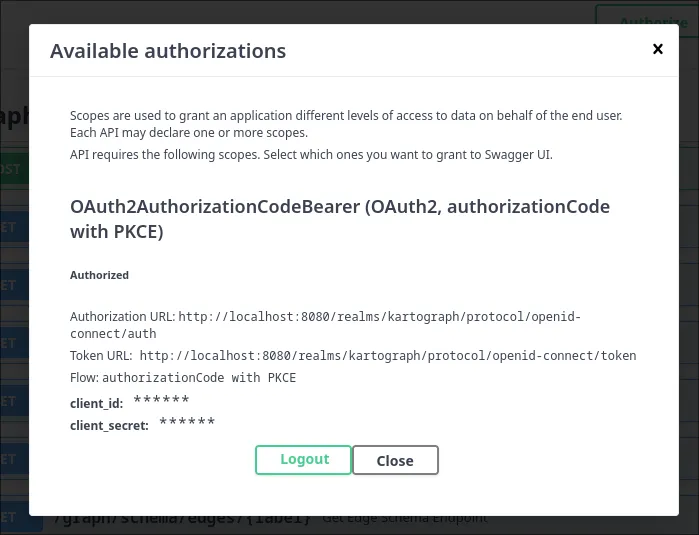
Verify Authentication
You will be redirected back to the Swagger UI, and the dialog should display a
Logoutbutton, indicating the authentication has succeeded.At this time, you can click
Closeto interact with the API.As you make requests, the Bearer token derived from the authentication flow will automatically be sent with requests.